Setting Up a Craft Area
Tips for Setting Up Your Craft Area
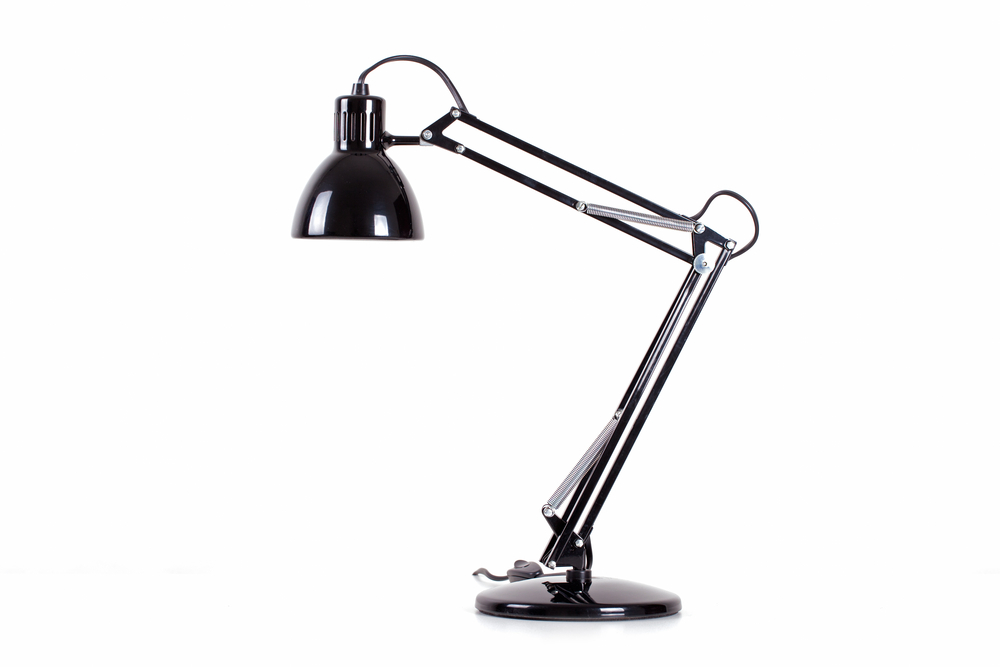
- Invest in a good task light that you can direct onto your work. A flexible swing-arm task light with low wattage, low heat, and located 8-12 inches from the work area often works best. Some lamps also have built-in magnifiers.
- Use light/dark contrast whenever possible. For example, create contrasting work areas using light and dark non-skid shelf liners, placemats, or plastic table covers.
- If you use a magnifier, consider one that will keep both hands free, such as a stand magnifier or an around-the-neck type.
- Prevent “visual clutter” and maintain safety by organizing the work area as the craft progresses. Keep a trash receptacle within arm’s reach at all times. This prevents trash from mixing with craft materials and uncluttered the work area.
- Use solid, non-patterned table coverings to provide contrast and assist with cleanup. Consider plastic table covers, shower curtain liners, and inside-out brown paper grocery bags; avoid using newspapers since the print and pictures can look “busy” and interfere with the visual orientation of the craft and workspace.
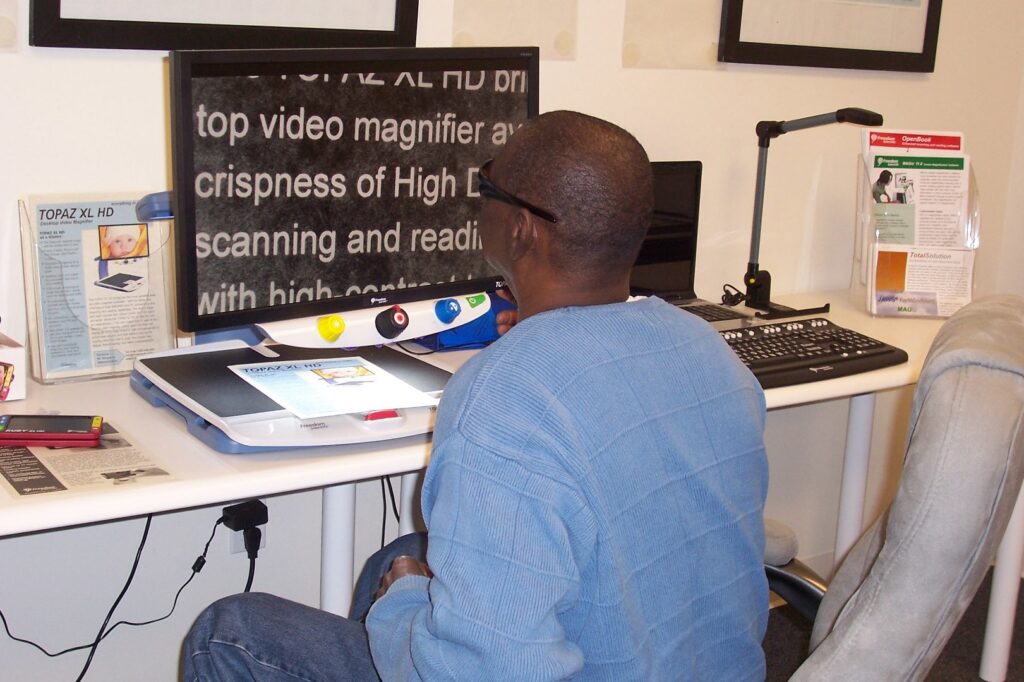
- Enlarge craft instructions or patterns on a copier machine or use a closed circuit television (CCTV) or electronic video magnifier.
- A glue stick is a good substitute for white craft glue in many projects since it is less messy and provides greater control. When planning your craft, allow for increased drying time. Most glue sticks do not work well on heavy wood or plastic.
- Keep hand wipes or paper towels and water within arm’s reach of the work area at all times, especially with projects requiring glue. Be aware that hands must be clean and dry to provide maximum tactile information and feedback.
Good Organization Is Key
Organizing and identifying your craft materials is extremely important:
- Gather the required materials together before beginning a craft project.
- Arrange materials in order of use.
- Always return materials and items to the same location.
Create boundaries to define your work area:
- Use a lipped tray or large cookie sheet to access craft materials easily.
- Smaller items, such as sequins, buttons, ribbons, or paper clips, can be placed into small boxes or plastic deli/disposable containers.
- Masking tape is an inexpensive and effective way to stabilize items and maintain crafts in a fixed position within the work area.
- Non-skid, commercially available shelf liners can be cut and placed under trays, containers, and boxes to stabilize them.
Label materials in your work and storage areas with any of the following methods and attach them to the outside of each storage container:
- A large bold print with easy-to-understand abbreviations made with a wide-tipped felt marker;
- A tactile marking in braille or a sample item attached to the outside of the container;
- Capital block letters pre-made of foam or cut from plastic or cardboard.
- For additional hints for labeling your craft supplies, see Labeling and Marking.
Separate your craft supplies by type of item and then by color:
- Shoeboxes can hold paper, felt, and fabric;
- Plastic containers can hold ribbons, yarns, and cords;
- Jars can hold beads, sequins, and buttons.
Measuring Tips and Techniques
You can estimate approximate measures without using a ruler:

- 1 inch is approximately the distance from the first knuckle to the fingertip.
- 4 inches is approximately the width of the hand along the base of the fingers.
- 18 inches is roughly the distance from the elbow to the fingertips, with the arm outstretched.
- 12 inches can be measured by taping a ruler to the front edge of the work table.
- If rulers are in short supply, pre-measure the distance and place color-contrasting tactile tape markers 12″ apart on the front edge of the work table.
- You can purchase tape measures and rulers with either tactile or large print markings — there are also talking tape measures! The large print ruler shown here also has braille markings.
Using Needles
Keep track of needles and pins in the work area with any of the following methods:
- Tape directly to the table or tray;
- Weave through small pieces of paper and tape the paper to the table;
- Weave through your collar or shirt front;
- Keep a magnet handy if needles or pins drop to the floor, the table, or the lap.
- Experiment with different types of needles and needle-threading devices. See Sewing and Embroidery for more information on the different types of available needle threaders.
By Stephanie Stephens Van, M.A., CLVT