Installing a Ceiling Fan
A ceiling fan can add an interesting decorative touch to a room and make the room have a much more comfortable and even temperature. Ceiling fans well placed can increase the efficiency of air conditioners and furnaces because they very quietly mix the warmer air which rises near the ceiling with cooler air that settles near the floor.
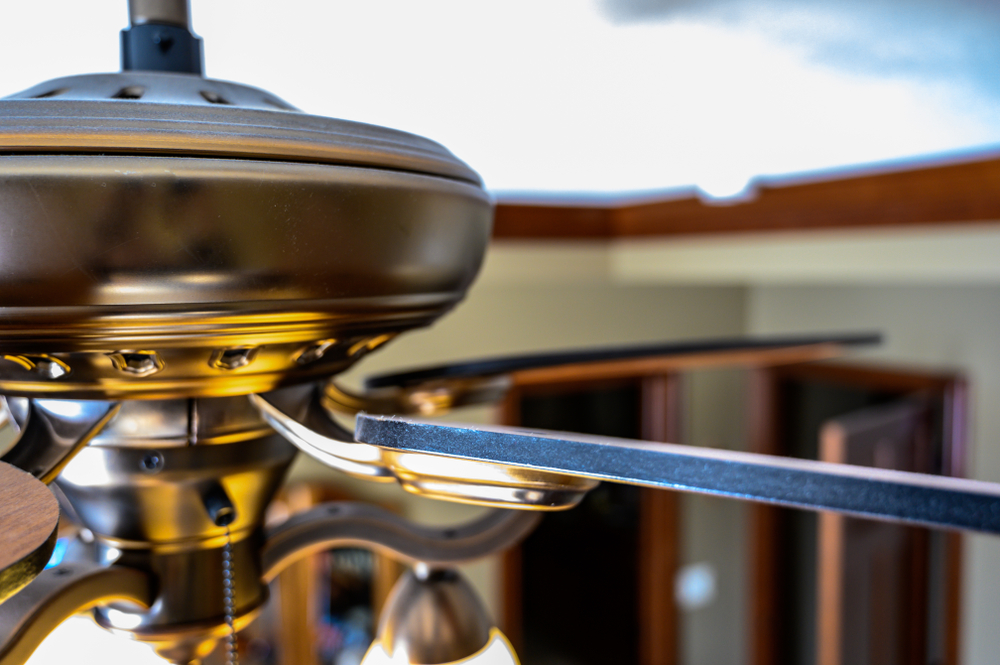
Ceiling fan blades generally span 36, 42, or 48 inches. You should choose the size that is best for the size of the room in which it is installed. A 48-inch fan spread may look best in a large room, and one of that size may be needed to circulate the air adequately. Likewise, a smaller diameter fan spread will work nicely in a smaller-sized room. Ceiling fans generally have either 4 or 5 fan blades.
The motor is equipped with a switch that will reverse the fan’s rotation direction, thus blowing air downward or pulling it upward. Pulling the air upward during the colder months pulls the warmer air up and across the ceiling and down the walls to distribute the warm air. The downward flow of air is usually done during the warmer months to move the air over people in the room, making them feel cooler.
Ceiling fans can also have a light kit added to them as part of the installation. There are several configurations of the light fixture to accommodate differing decorative tastes. The ceiling fan and lights can be operated from a wall switch, by pull chains on the fan housing, or with a remote control.
Tip: If your home or apartment ceilings are higher than the standard room, you may want to purchase a ceiling fan with an extension connector to allow the fan to move further down from the ceiling.
Tip: Less expensive fans may have a louder motor sound than more expensive fans. This can be an issue in a bedroom at night, where having a quiet fan might be important.
Ceiling fans can just as easily be installed by persons with limited or no vision as by persons with good vision by having the right tools and following the five steps described below.
- Straight and Phillips screwdrivers
- Pliers that incorporate a wire cutter sometimes referred to as linemen’s pliers
- Needle nose pliers
- Wire stripper or sharp knife for stripping insulation from the electrical wire
- Allen wrenches for some models (sometimes provided by the manufacturer)
- Sturdy ladder or strong tall step stool
Parts you may need
- Electricians tape
- A selection of wire connectors, also referred to as wire nuts used to connect two or more electrical wires
- Additional chain to extend the pull chains (depending on the height of the ceiling in the room)
If the fan is not mounted where a light fixture has been installed (see Step 5 below), you may need:
- A plastic or metal electrical junction box
- Wood screws for anchoring the junction box
- Electrical cord or wire
- Protective cord covering
- Electrical plug
Steps to Install Ceiling Fans
Step 1: Determine the best location for the fan
For best air circulation, the fan should be located as near the center of the room as possible. If there is an existing light fixture at or near the center of the room, the fixture can be removed, and the fan (and light kit if desired) can be connected to the electrical wires that supply power to the light, and the fan can replace the fixture. If the room lighting is not located near the center of the room or you wish to retain the existing light fixtures, the fan can be installed where you wish (see Step 5).
Step 2: Unpack the fan and light kit
The fan is usually well protected by being placed in Styrofoam which is then placed in a box. The light kit is usually boxed separately. You will find:
- 4 or 5 fan paddles, each wrapped in plastic or cellophane to prevent scratching
- Brackets for mounting the fan blades to the motor housing
- The motor
- A bracket and cover for mounting the fan to the ceiling
- A pivot pole for suspending the fan from the mounting bracket
- Four or five different-sized bolts for mounting the parts together
- Wire nuts and pull chain
- The light fixture
- Light deflectors
- Printed instillation instructions
Tip: To help plan the installation, being familiar with the various parts before beginning is helpful.
Step 3: Turn off the electricity
Whether you are replacing an existing light fixture or installing the fan and connecting electrical wires to it, you must be sure that you have turned off the circuit breaker or removed the fuse governing the circuit where the fan will be connected. Older homes and apartments often have one or more fuse boxes with two to eight fuses. The fuse box is metal and may be in a stairwell, closet, basement, or garage. The box’s surface may be flush with the surrounding wall or stick out a couple of inches. The box will have a metal door that must be opened to expose the fuses. Fuses lay flat on the outward-facing surface. They are round and screw into a socket in the box, much like a light bulb socket. The fuse can be unscrewed by turning it counterclockwise. Circuit breakers are standard for all newly constructed and remodeled homes. They serve the same function as older-model fuse boxes and are generally found in the same areas of the home. Circuit breakers look like small light switches and are generally organized in rows of two to eight or more that can run horizontally or vertically. To trip a breaker, the switch-shaped button is moved down or up or side to side depending on the position in which it was installed.
When electrical circuits were installed, the installer should have provided a list of which outlets and lights are on each circuit. If no additional outlets or lights have been added since installation, you can quickly tell from this list which fuses or breaker governs the location where the fan will be installed. If the circuit list is unavailable or has not been kept up to date, it may be difficult to determine which fuse or breaker to turn off or remove. If you are unsure you have found the correct fuse or breaker, you can turn the power off to the entire house or get a circuit tester to determine if there is an electrical current in the wires you will connect to.
Step 4: Install the fan and make the electrical connection to an existing light fixture
If you are replacing an existing light fixture with the ceiling fan (and light kit if you choose), be sure the electrical circuit is turned off. Next, remove the existing fixture by removing the reflector (if there was one), removing any light bulbs, and removing the mounting screws or threaded knurled cap in the fixture’s center. You will detach the wire from the fixture from the wires in the ceiling supplying power. They are usually connected with wire nuts and sometimes secured with electrical tape. The electrical wires should come through access holes in an electrical junction box which may be partially recessed into the ceiling and fastened to a ceiling beam. If the fixture was attached at the middle point, a piece of metal would likely run across the junction box. You will want to remove this before mounting the fan bracket.
Tip: the junction box is likely anchored to the ceiling beam with nails with large heads. The junction box should securely attach to the ceiling beam because the fan is heavier than most light fixtures. If it is not securely attached to the ceiling beam, it may affect the stability and balance of the ceiling fan. In this case, you may be able to tap the nails in more securely or put in a wood screw or two. If, as would very rarely happen, the junction box to which the light fixture was connected was only attached to the ceiling and not to a support beam, you should not attempt to fasten the fan there because it could work loose and fall.
You will next attach the mounting bracket to the junction box with the screws that are provided. They go into two threaded tabs on opposite edges of the junction box.
Tip: You may want to place a washer between the head of the bolt and the mounting bracket to be sure that the head of the bolt doesn’t pull through the mounting slot in the bracket and that you can tighten it securely.
The electrical wire supplying current to the fan should extend down so that it can be connected to the wires on the fan.
Next, you will push the wires from the fan motor up through the pivot post, being sure to slide the cover that goes over the mounting bracket over the pivot post before attaching the post to the fan. Once the pivot post is securely attached to the fan motor, you can hang the motor by the pivot post on the mounting bracket attached to the junction box in the ceiling. It will hang from the bracket securely, and you can connect the electrical wires. There will most likely be four wires that come up from the fan motor, one black, one white, one blue, and a grounding wire that might be red, gray, or another color. If you install a light kit, the black and blue wires will be connected to the black electrical power supply wire. The blue wire need not be connected if you do not have a light kit. The white wire will be connected to the white supply wire, and the grounding wire will connect to a third wire coming from the ceiling if the incoming circuit includes a grounding wire. If there is no grounding wire from the circuitry, there is not much you can do about that because it would be quite difficult to install a grounding wire in the ceiling. The fan and light will operate properly without the grounding wire. There should be about 3/4-inches of un-insulated wire that you will connect by twisting the ends of the wires together in a clockwise direction using the linesmen’s pliers. When you have a good connection, put a wire nut of the correct size over the bared ends of the wires and twist it in a clockwise direction until it is tight.
Tip: If you do not have enough vision to identify the colors of the electrical wires, you will most likely need a sighted person’s assistance to identify the wires’ color. Putting a small piece of electrician’s tape on the black and blue wires is helpful to identify them tactually.
Tip: It is a good practice for additional safety to wrap electrical tape in a clockwise direction around the wire nut and the twisted wires.
Next, you can slide the metal cover up the pivot post and anchor it to the mounting bracket on the ceiling with the screws that are provided.
Tip: You can turn the circuit back on to test if your electrical connections are correct. The fan motor will operate without the fan blades.
Turn the circuit off before installing the light kit if you tested your connections. To connect the light kit, remove an access cover at the bottom of the motor. A cluster of wires will be housed there, and you can connect the black or blue wire to the black wire on the light fixture and the white wire. You will then attach the light kit to the motor housing using the small screws provided.
Next, you will attach the four or five fan blade brackets to the motor housing and then attach the fan paddles to the brackets. Be sure that the mounting screws on the brackets and paddles are tight because mounting screws that are not tight can cause the bracket or blade to flex, thus affecting the smooth and balanced rotation of the fan.
Tip: Many fans will come with small adhesive-backed light weights, which can be added to a fan blade to help balance the blades if the fan is rotating unevenly. Determining which blade may need additional added weight is a bit tricky, but careful observation of the fan’s rotation can help.
If you have a light kit, install the light deflectors and insert the proper wattage light bulbs.
Step 5: How to install the fan if there is no light fixture to supply electrical power
If you choose to locate the ceiling fan with no light fixture to provide electrical power, you can secure a plastic or metal junction box to the ceiling as near the middle of the room as possible. Ensure the mounting screws are long enough to go into a ceiling beam. Putting screws into the ceiling without running the screws into a wooden ceiling beam could cause the fan to work loose, or worse yet, the fan could fall down.
After adequately securing the junction box, you must run an electrical wire. If the area above the room where the fan is being installed is accessible (like in an attic), you could install electrical wires connecting them to a junction box to another circuit. You should use 14- or 12-gauge insulated electrical wire with black and white wires and a grounding wire. If the area above the room is accessible and you choose to connect the wire to another circuit, be sure to turn that circuit off before opening the junction box. Although the fan and light kit do not draw much electrical power, you should determine what other lights and appliances are on that circuit to avoid overloading it. Once the wire is correctly connected to the junction box, the other end will be put down through access holes in the junction box on the ceiling.
If you cannot install wire from above, you can supply power through a heavy-duty electrical cord with a minimum 16-gauge stranded wire (14-gauge is recommended), as you would find on a vacuum cleaner. You should anchor the cord to the junction box where the fan will be located. Slide the cord through a plastic or metal wire covering that can run across the ceiling and down a side wall near an electrical outlet. These protective cord covers often have an adhesive that will adhere them to the ceiling and wall, thus holding them in place.
Tip: You may want to secure the wire further covering to the ceiling or wall with staples of the correct size or some other fastening device.
After routing the wire to the outlet, install an electrical plug on the end of the wire by stripping off the insulation and connecting them to the terminals on the plug.
Tip: You may want to touch up the electrical cord covering with paint to match the ceiling and walls.
Unless a wall switch operates the outlet you plug the wire into, the fan and light kit can only be turned on and off with the pull chains or remote control if the fan comes with one.
Once you have installed the electrical wires to the junction box on the ceiling, you will proceed to install and wire the fan as described above. Be sure not to plug the cord into the outlet until the connections are made to the fan.
Tip: Add the fan and light to the fuse or breaker lists.
If you have followed these steps, your fan and lights should operate perfectly.
By Gil Johnson