This content is also available in:
Español (Spanish)
Welcome! CareerConnect, FamilyConnect, and VisionAware now live in one easy to use site!
Our mission is to empower people toward greater independence and lifelong success by providing free curated information and resources to assist children, parents, job seekers, and adults who are blind or low vision.
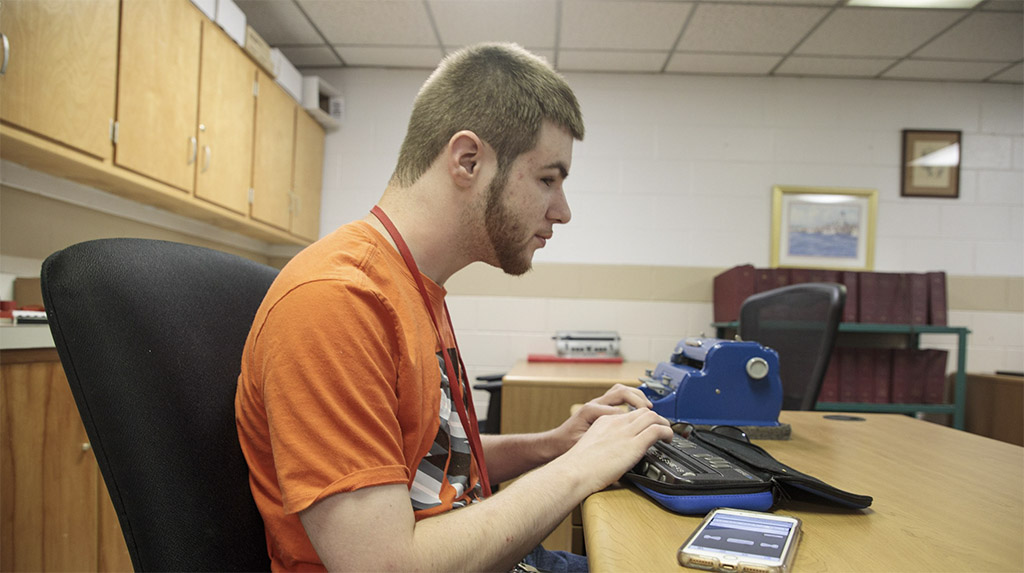
For Job Seekers & Employers
Employment information, tools, and guidance for job seekers who are blind or low vision.

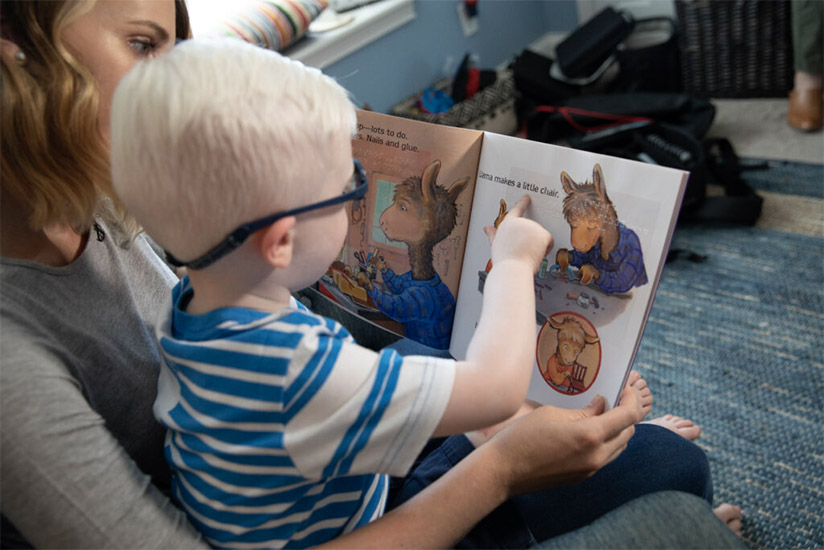
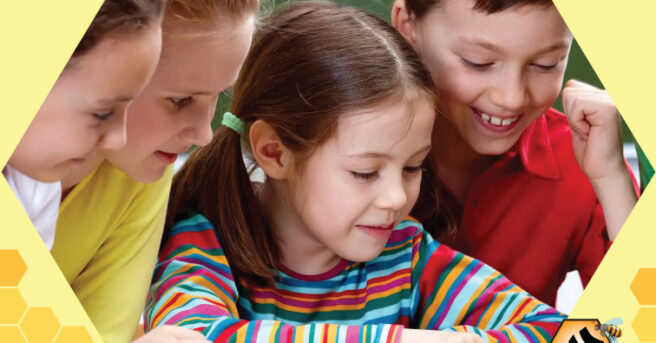
For Families
Offers support and resources for families of children who are blind or low vision.

VisionAware
For people adjusting to blindness or low vision, family members and professionals who serve them.

Need to talk?
If you are looking for resources and services, one of our experienced representatives can provide free information on virtually any topic related to blindness and low vision. Call toll-free (800) 232-5463 Mon-Fri 8 AM – 8 PM Eastern or e-mail us at [email protected].
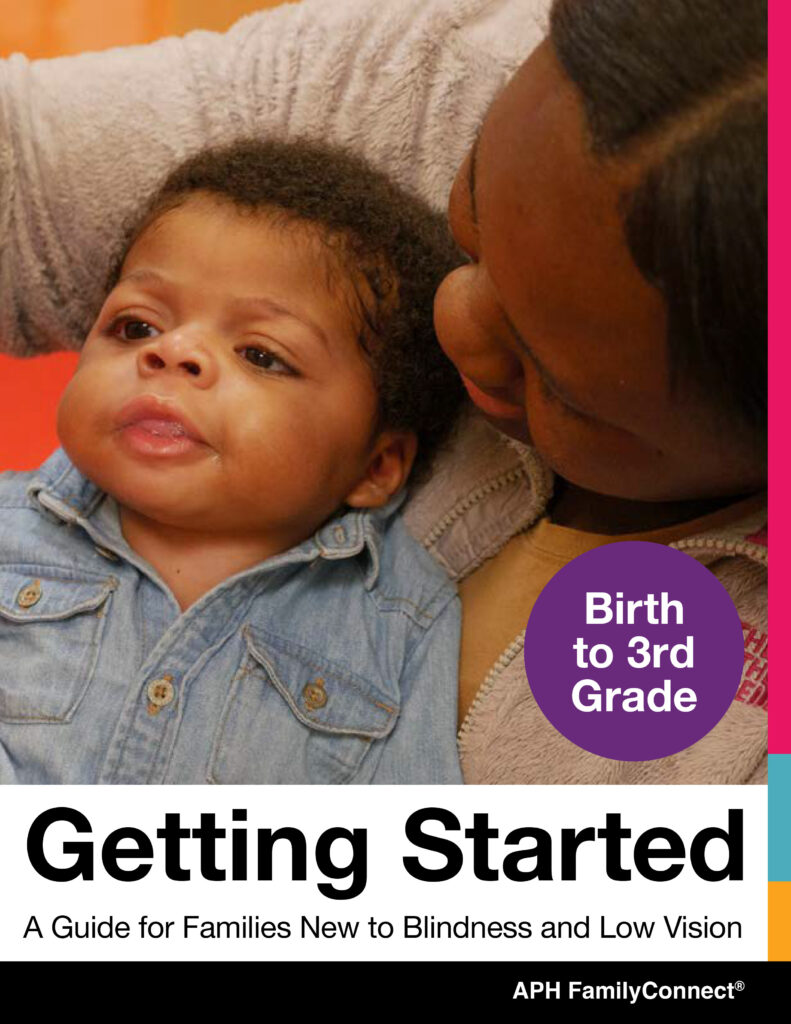
New for 2024! FamilyConnect’s Getting Started Guide Birth to 3rd Grade
provides information about visual development, navigating IFSP and IEPs, tips and ideas to support your child at home, braille literacy, and a wealth of other resources to support you raising your child.
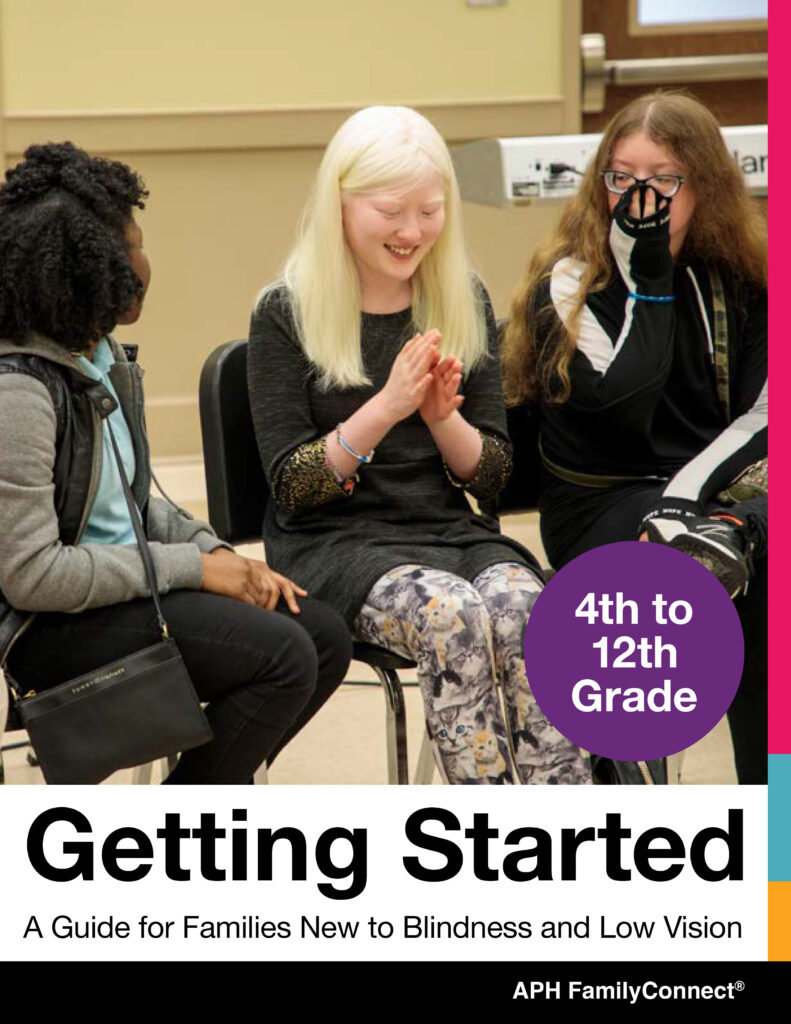
New for 2024! FamilyConnect’s Getting Started Guide 4th to 12th Grade
provides information about vision in children, navigating IEPs, tips and ideas to implement in your home, technology, transition and a wealth of additional resources to support you raising your child.
Exploring Your Future?
Find information about programs that emphasize empowerment, career exploration, and work experiences for teens and young adults who are blind and have low vision in our Transition Hub.
Are You a Job Seeker?
Attention, students and job seekers who are blind or low vision! Are you ready to hone your career exploration and job-seeking skills? The APH ConnectCenter and NSITE have partnered to update a NEW Job Seeker’s Toolkit, an accessible, self-paced, free online training course! Find more information about the toolkit on CareerConnect.
Blog Posts
-
This content is also available in: Español (Spanish)Are you eager to help your child with blindness or low vision excel in reading? Join us in The Hive course, Unlocking the […]
-

This content is also available in: Español (Spanish) The AFB and the NRTC provide outstanding resources for job seekers, human resource professionals, and employers. Learn about a few of the […]
-
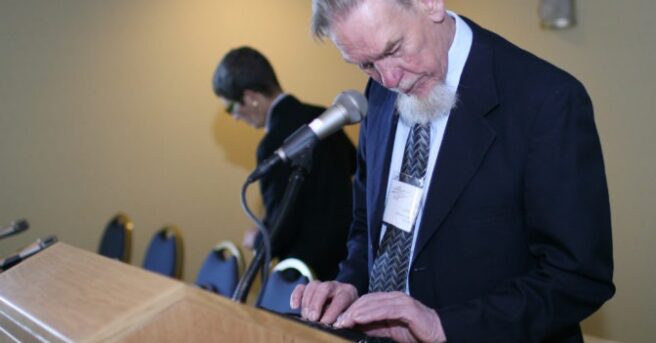
This content is also available in: Español (Spanish)Editor’s note: Gil Johnson passed away on March 25, 2024. APH VisionAware is very grateful for the knowledge he brought to APH VisionAware […]
Webinars
-
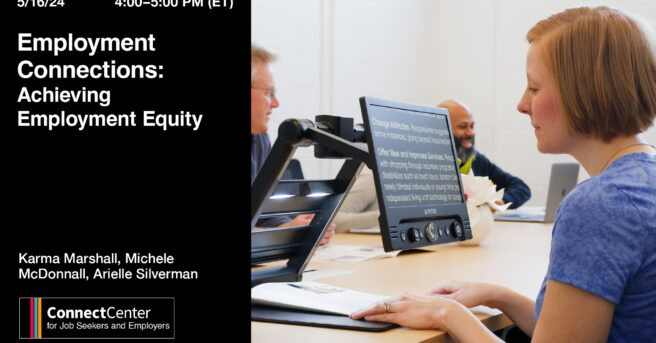
This content is also available in: Español (Spanish) Webinar Date: Thursday, May 16, 2024 4:00 PM EDT The APH ConnectCenter is pleased to be hosting practitioners in the field of […]
-
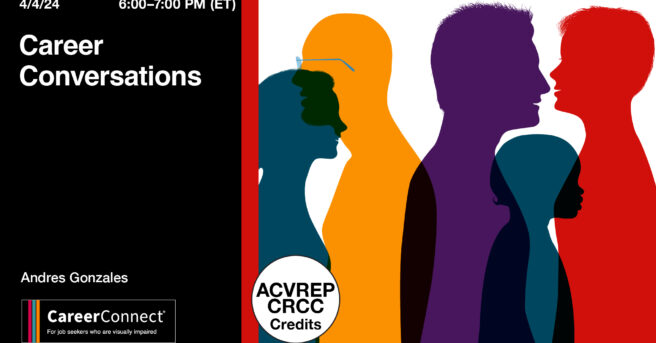
This content is also available in: Español (Spanish) Webinar Date: Thursday, April 4, 2024 6:00 PM EDT Join the team at APH ConnectCenter for our very popular Career Conversations Series. […]
-
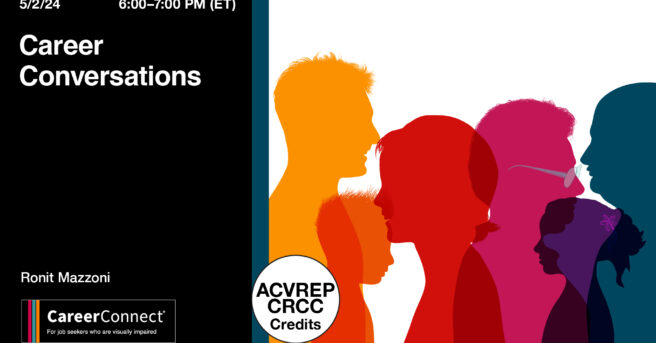
This content is also available in: Español (Spanish) Webinar Date: Thursday, May 2, 2024 6:00 PM EDT Join APH CareerConnect for our very popular Career Conversations Series. Ronit Mazzoni will […]
-
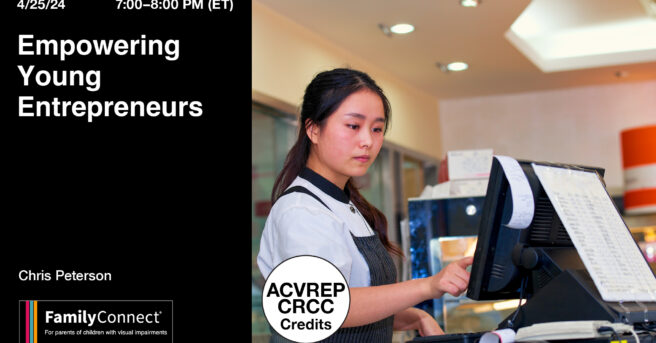
This content is also available in: Español (Spanish)It is never too early to begin earning a little cash. The key is to let your child take the lead with their […]
-
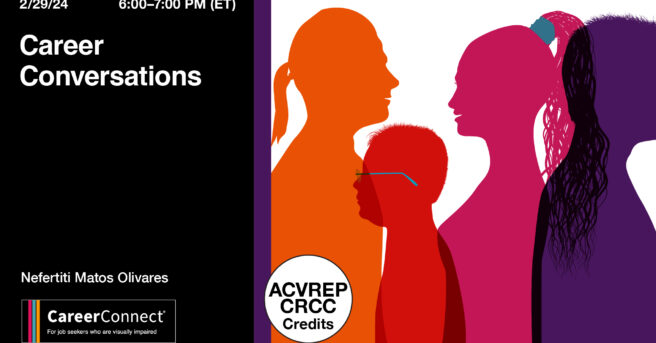
This content is also available in: Español (Spanish) Webinar Date: Thursday, February 29, 2024 6:00 PM EST Join APH CareerConnect for our very popular Career Conversations Series. Nefertiti Matos Olivares, Workflow […]
-
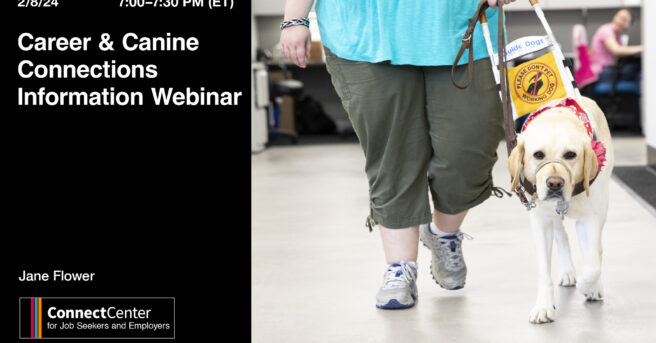
This content is also available in: Español (Spanish) Webinar Date: Thursday, February 8, 2024 7:00 PM EST Imagine a week where career dreams meet wagging tails! Join the Careers & […]